The complete guide
to riding on PC|MP
Hey everyone. In this guide we'll walk you through exactly what to install and how to play on PC|MP — Poli&Co Multiplayer, the first true multiplayer ever built for RailWorks. You can be a driver, a dispatcher, or simply a spectator watching other trains live.
Game settings
Before doing anything else, set up Train Simulator (RailWorks) itself. To play on the PC|MP project, your in-game display mode must be set to Borderless.
Preparation & installation
To play, you'll need the routes supported by the project. Right now, that's a single route released by the publisher — M200 Arad – Radna — which is fully supported by PC|MP.
You'll need to own the route. Get it from the publisher's store: poli-co.com. The purchase includes both the regular single-player version and the special PC|MP multiplayer version.
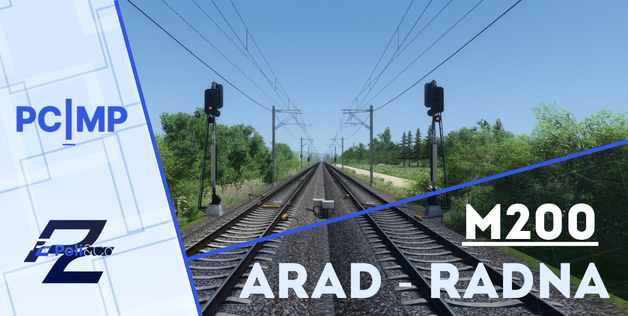
Next, you'll need the PC|MP Content — in simple terms, the whole PC|MP ecosystem: the launcher, the HUD, and the map. You get it by subscribing to PC|MP, a monthly subscription purchased on the same main publisher site. Subscribing unlocks access to the entire PC|MP ecosystem.
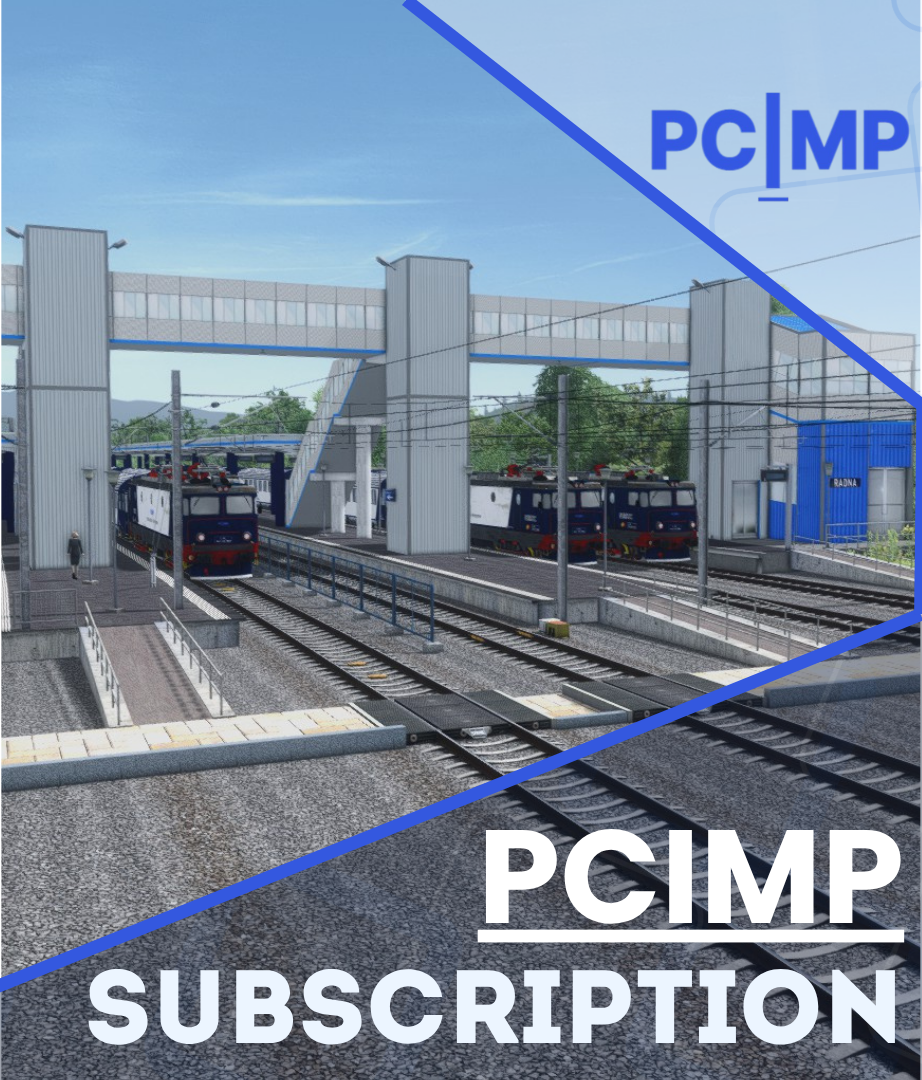
Once purchased, your account's Downloads section will show a product called PC|MP Content, made up of:
- PC|MP HUD
- PC|MP Launcher
- PC|MP Online Map — we'll cover each of these in detail later.
You'll also need the latest version of the P&C Object Pack. Download it here or from your account's Downloads section:
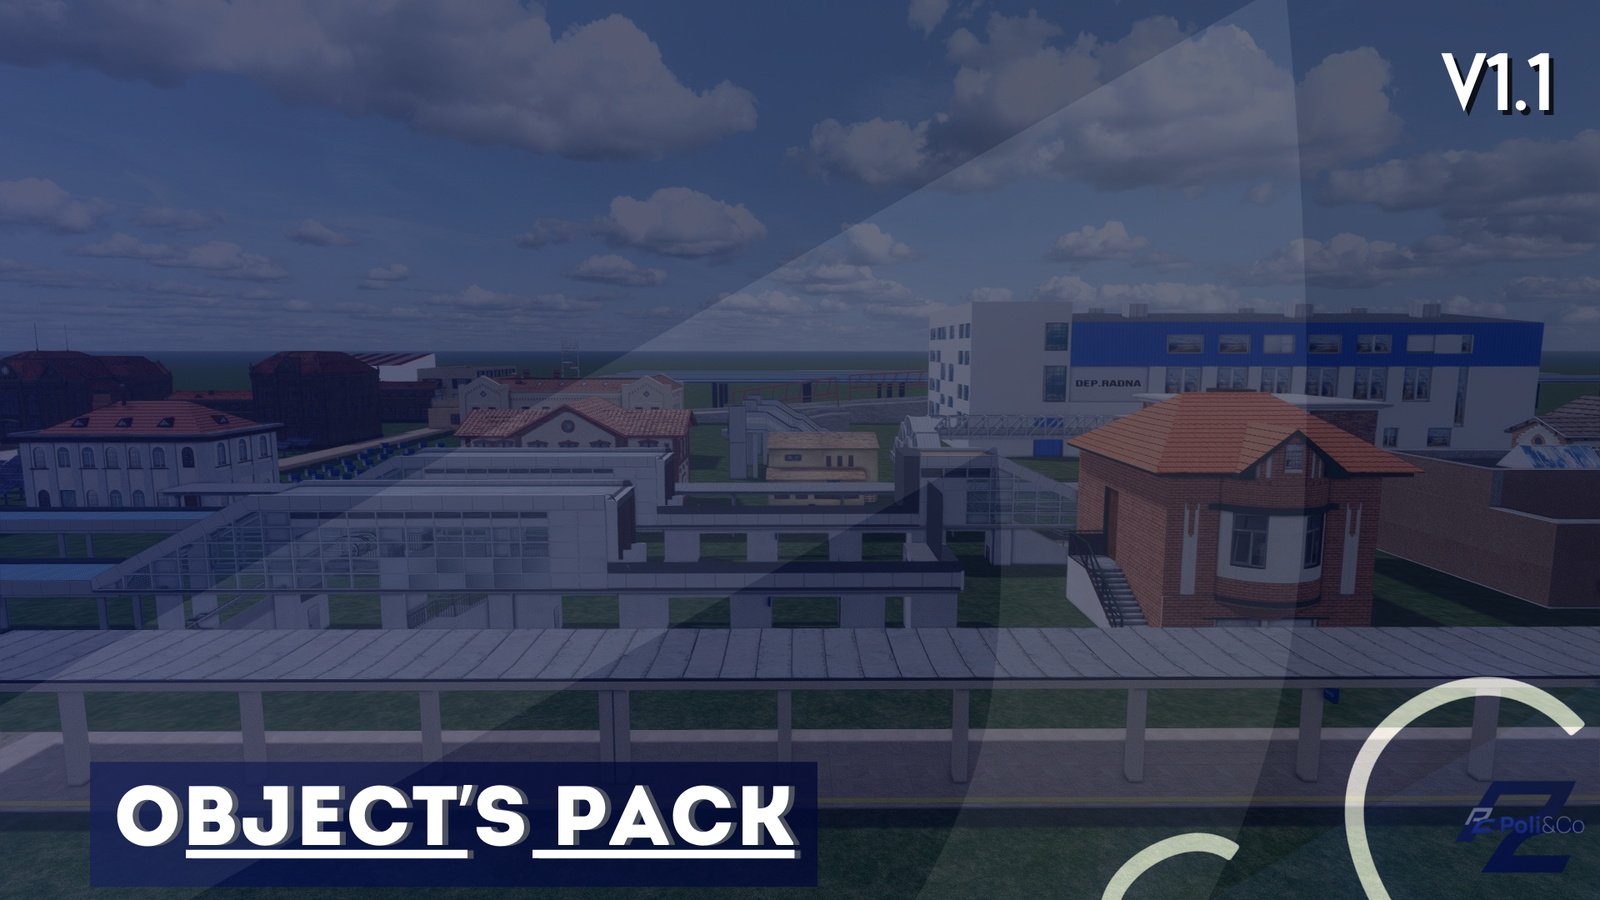
Once everything above is installed, move on to the next step.
Setup — general information
Let's start with which locomotives you can run, and which ones the project supports. We'll explain later how other players will actually see you. The consists you can drive on PC|MP:
- CFR 060 – EA 476-692-5 by TrainMotion [TM], and all its liveries.
- 060 EA Classic by RailStudio [RS], and all its liveries.
You can use any wagons you like.
Connecting — Part 1: RailWorks
Launch Train Simulator (RailWorks). Go to Editor → Scenario Editor, select the PCIMP M200 Arad–Radna [Empty Config] route, and click Edit.
Once in the editor, place your consist at your chosen starting station, heading to your chosen destination. Important: pick your starting platform carefully — make sure you're not placing your consist on a platform someone else is already using. You can check live train and platform occupancy on our official multiplayer map:
Place the locomotive you'll drive along with up to 6 wagons. Once saved, you must sit inside the consist. With that done, move on to the final connection step.
Part 2 — Final connection. Search Windows or check your desktop for the PC|MP Launcher. This launcher is the heart of the whole project — every connection and setting runs through it. It auto-updates: whenever a new version is out, it'll notify you and download it automatically on launch. We occasionally run maintenance too — new features, bug fixes, and other work — and we'll always announce it in the Dashboard's news section inside the launcher.
Signing in through the launcher
The first time you open the launcher, you'll be asked to sign in with your publisher account — Poli&Co, from poli-co.com.
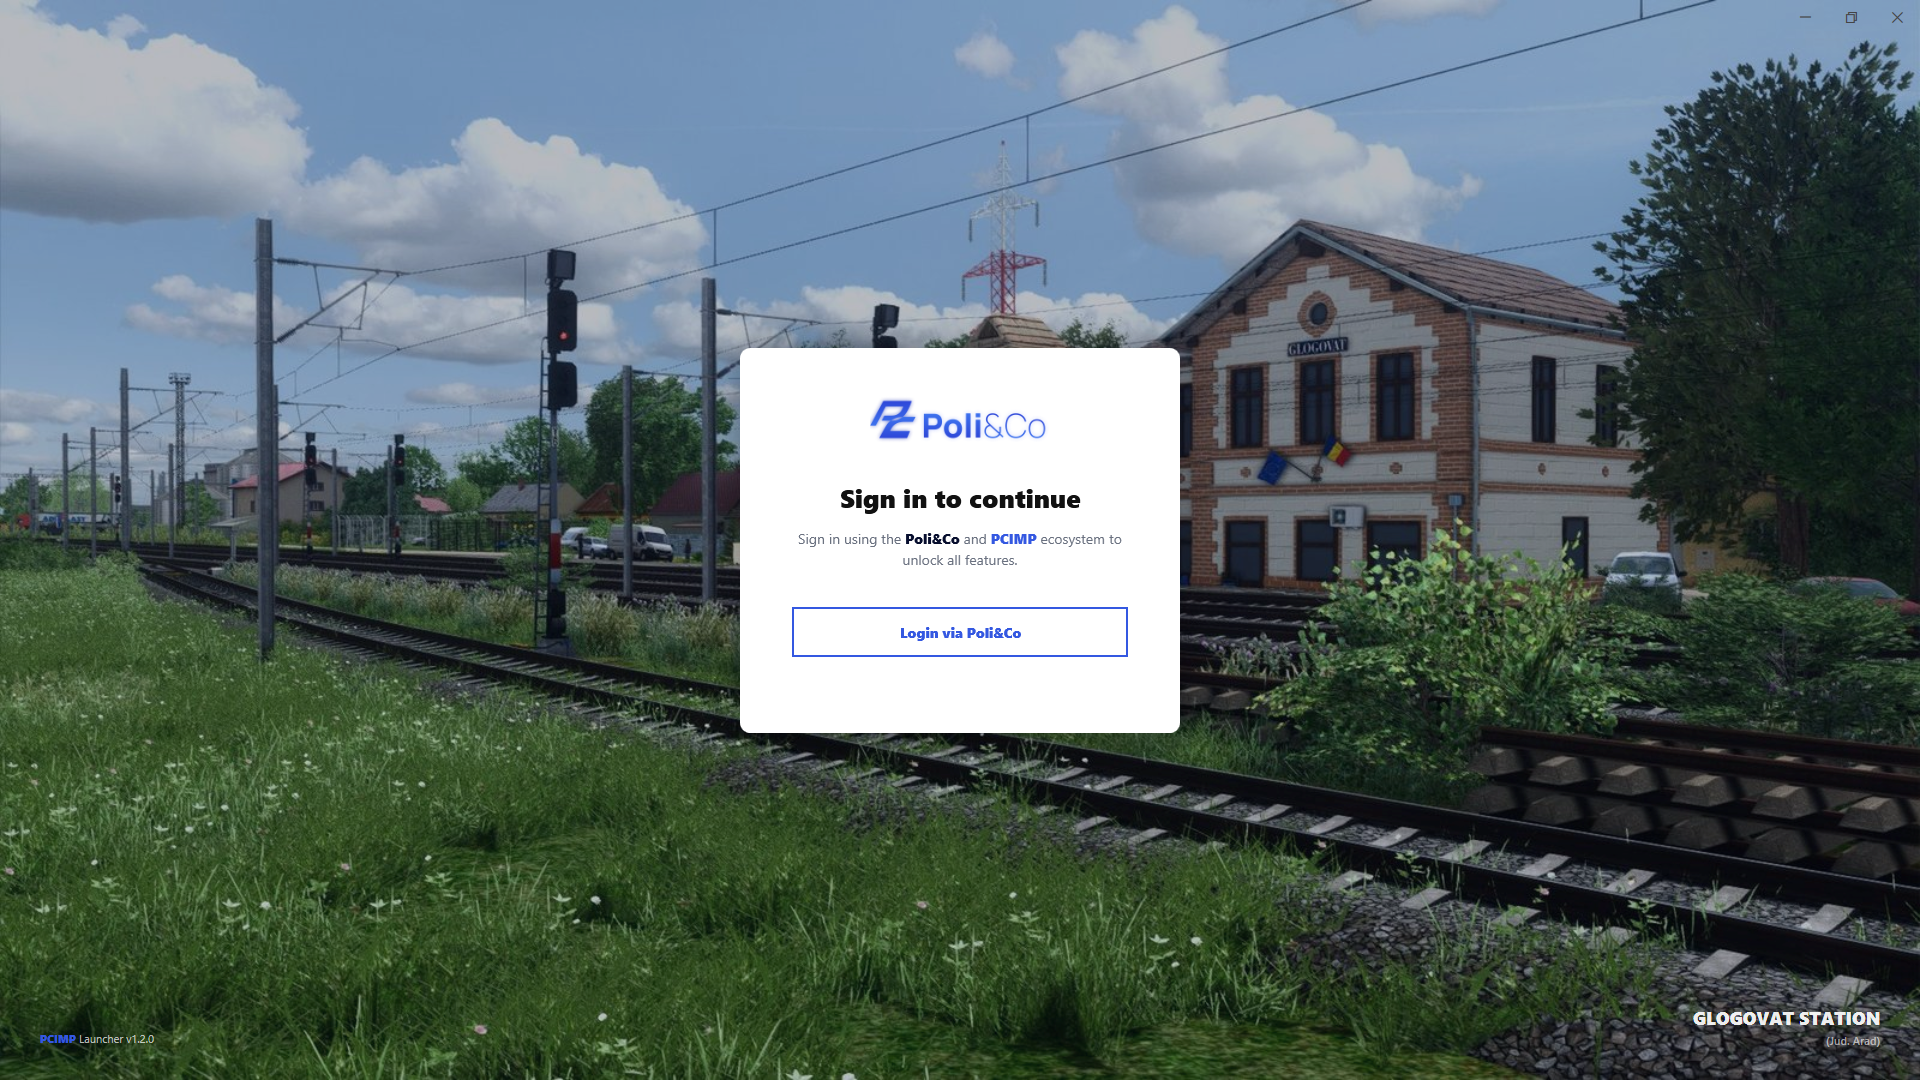
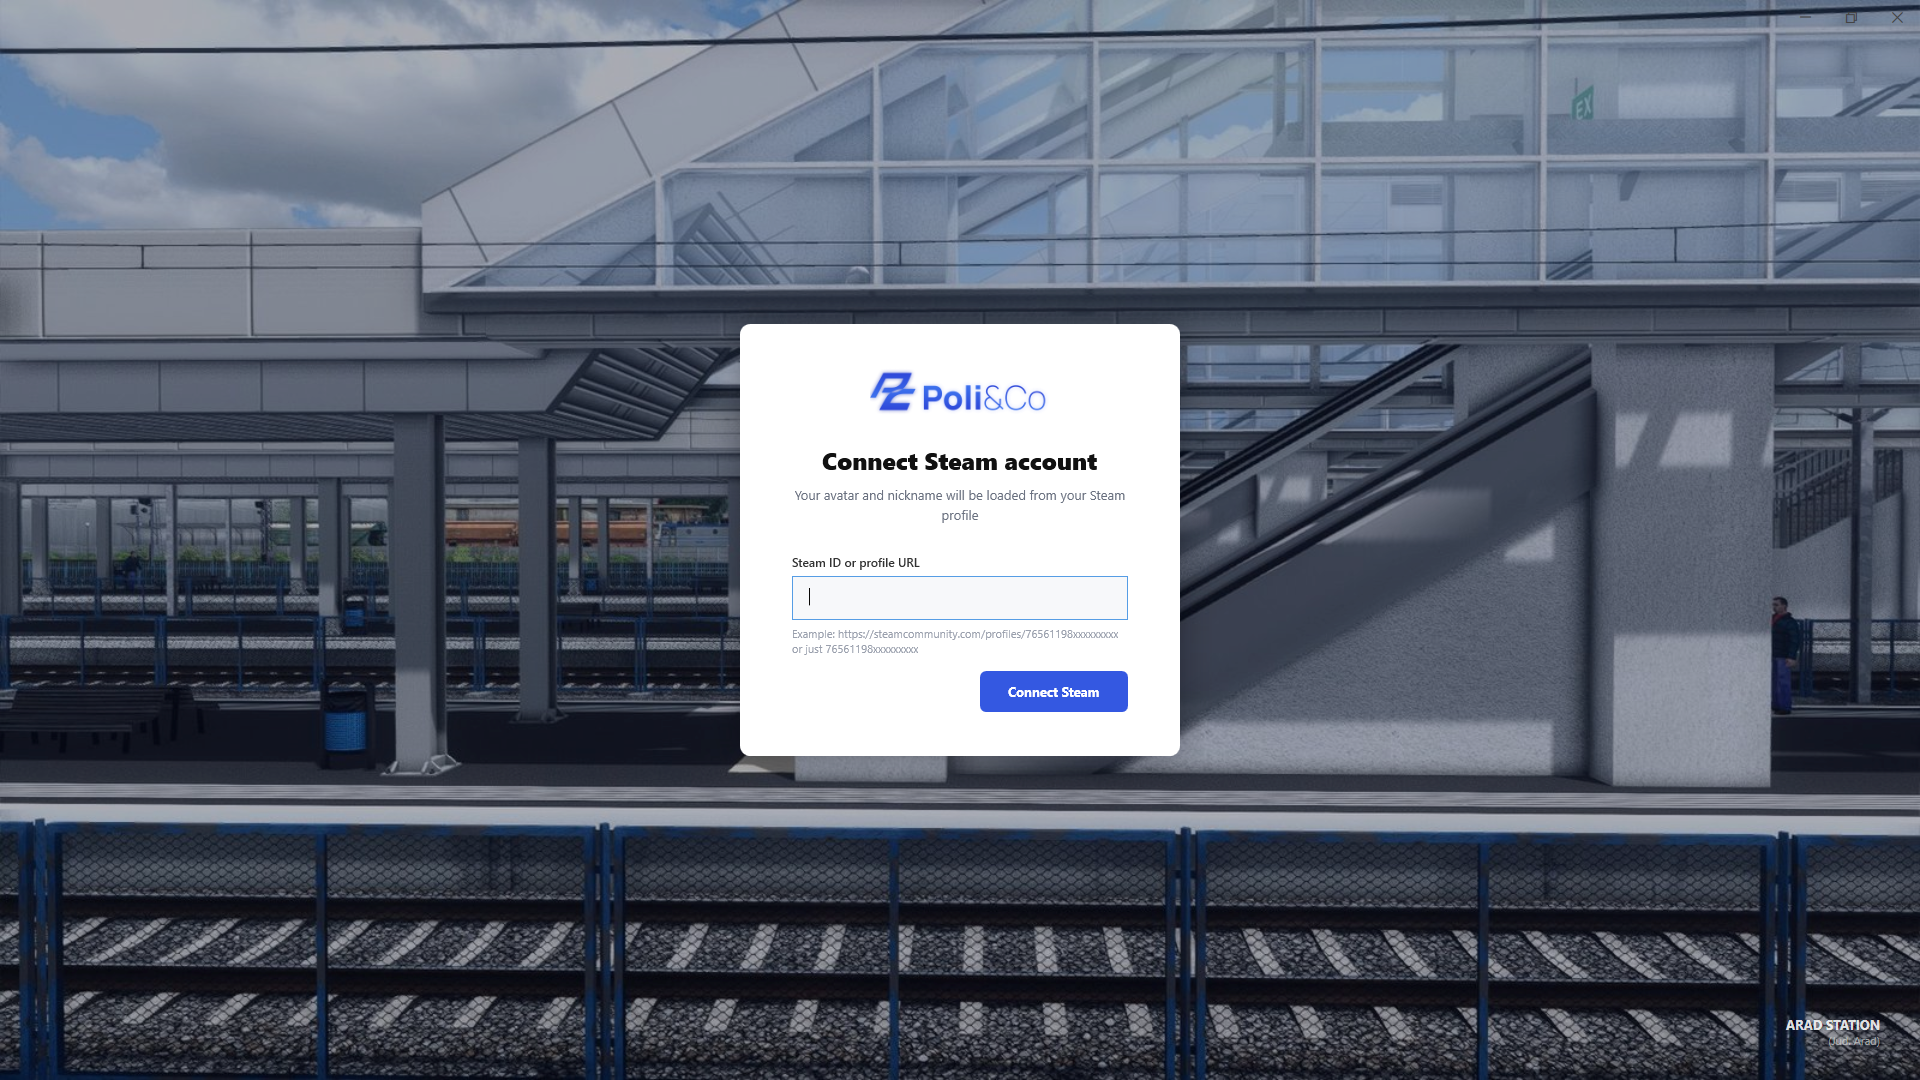
Once signed in, you'll also be asked to link your Steam profile. This is used to identify you — pulling in your avatar and nickname for the project.
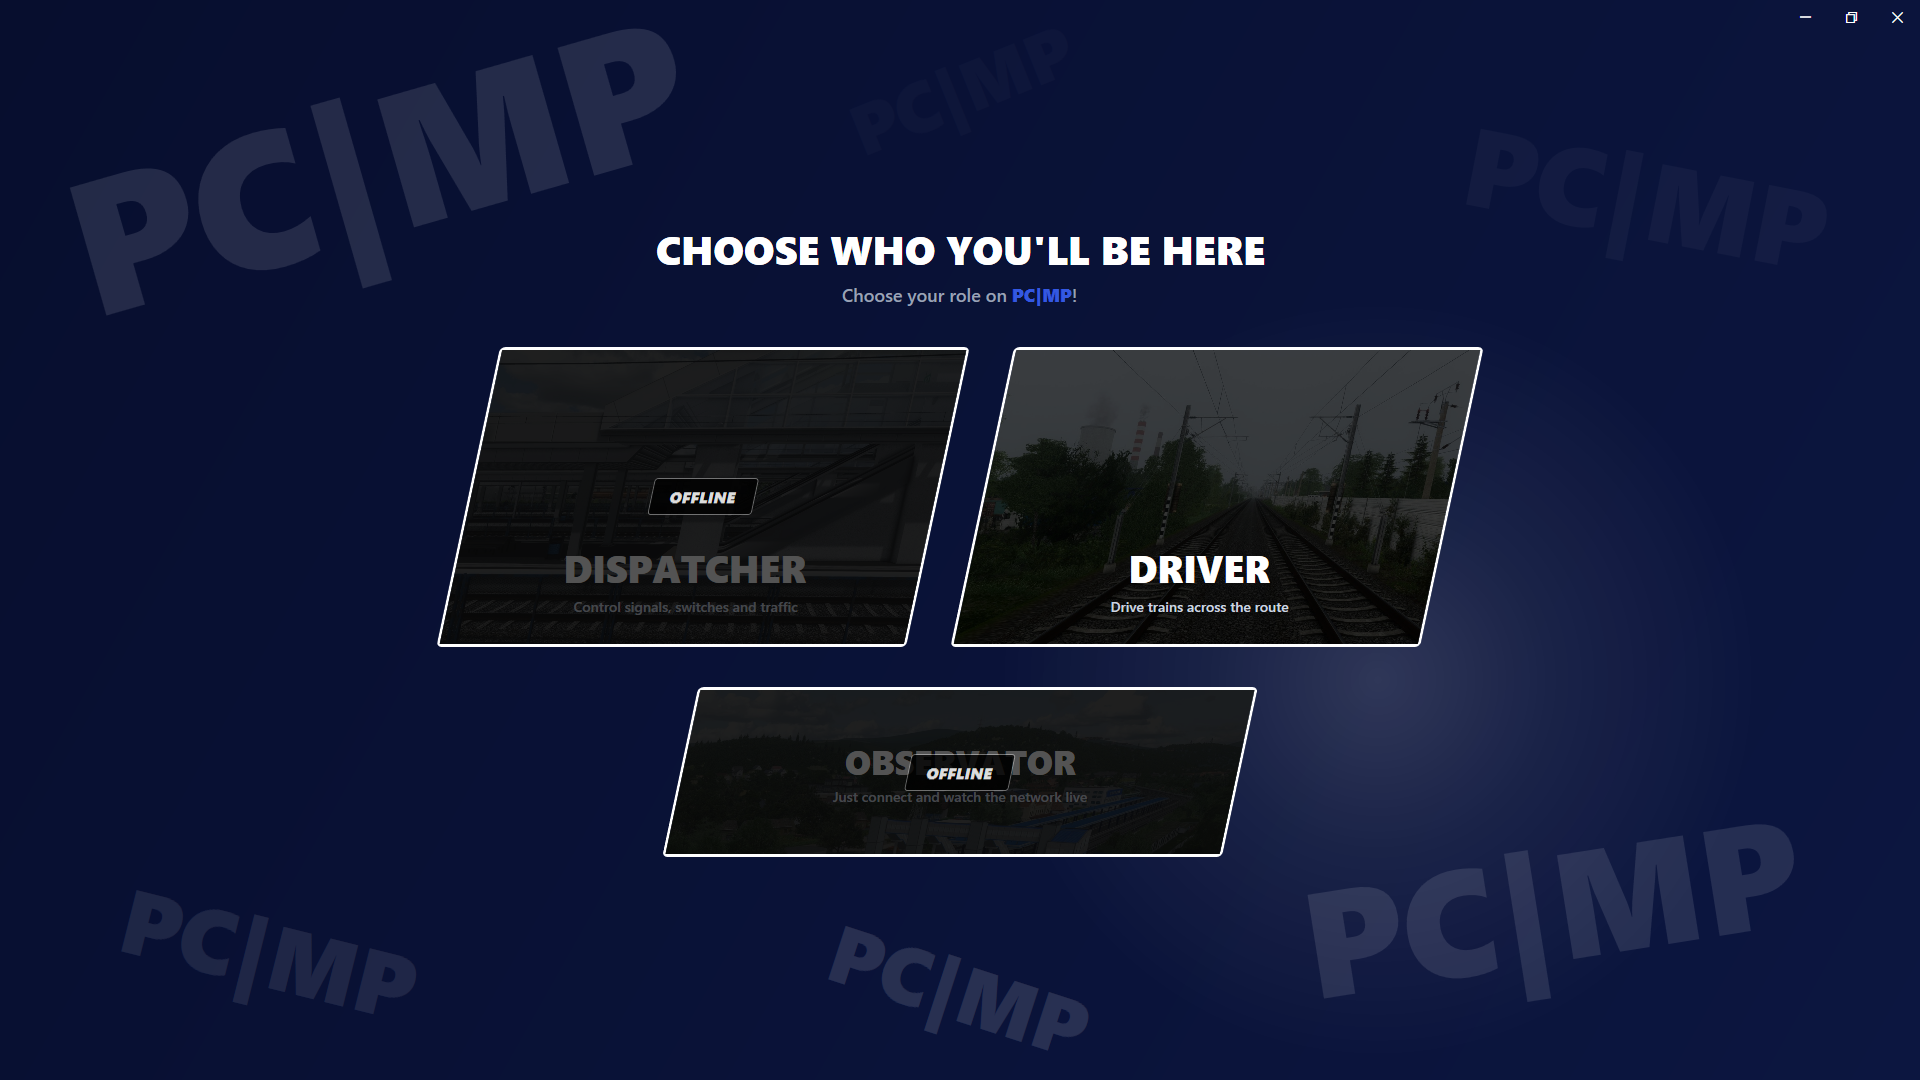
Next you'll land on the role selection screen. For now, only Driver mode is available — the other roles are currently offline and arriving soon. Select Driver to continue.
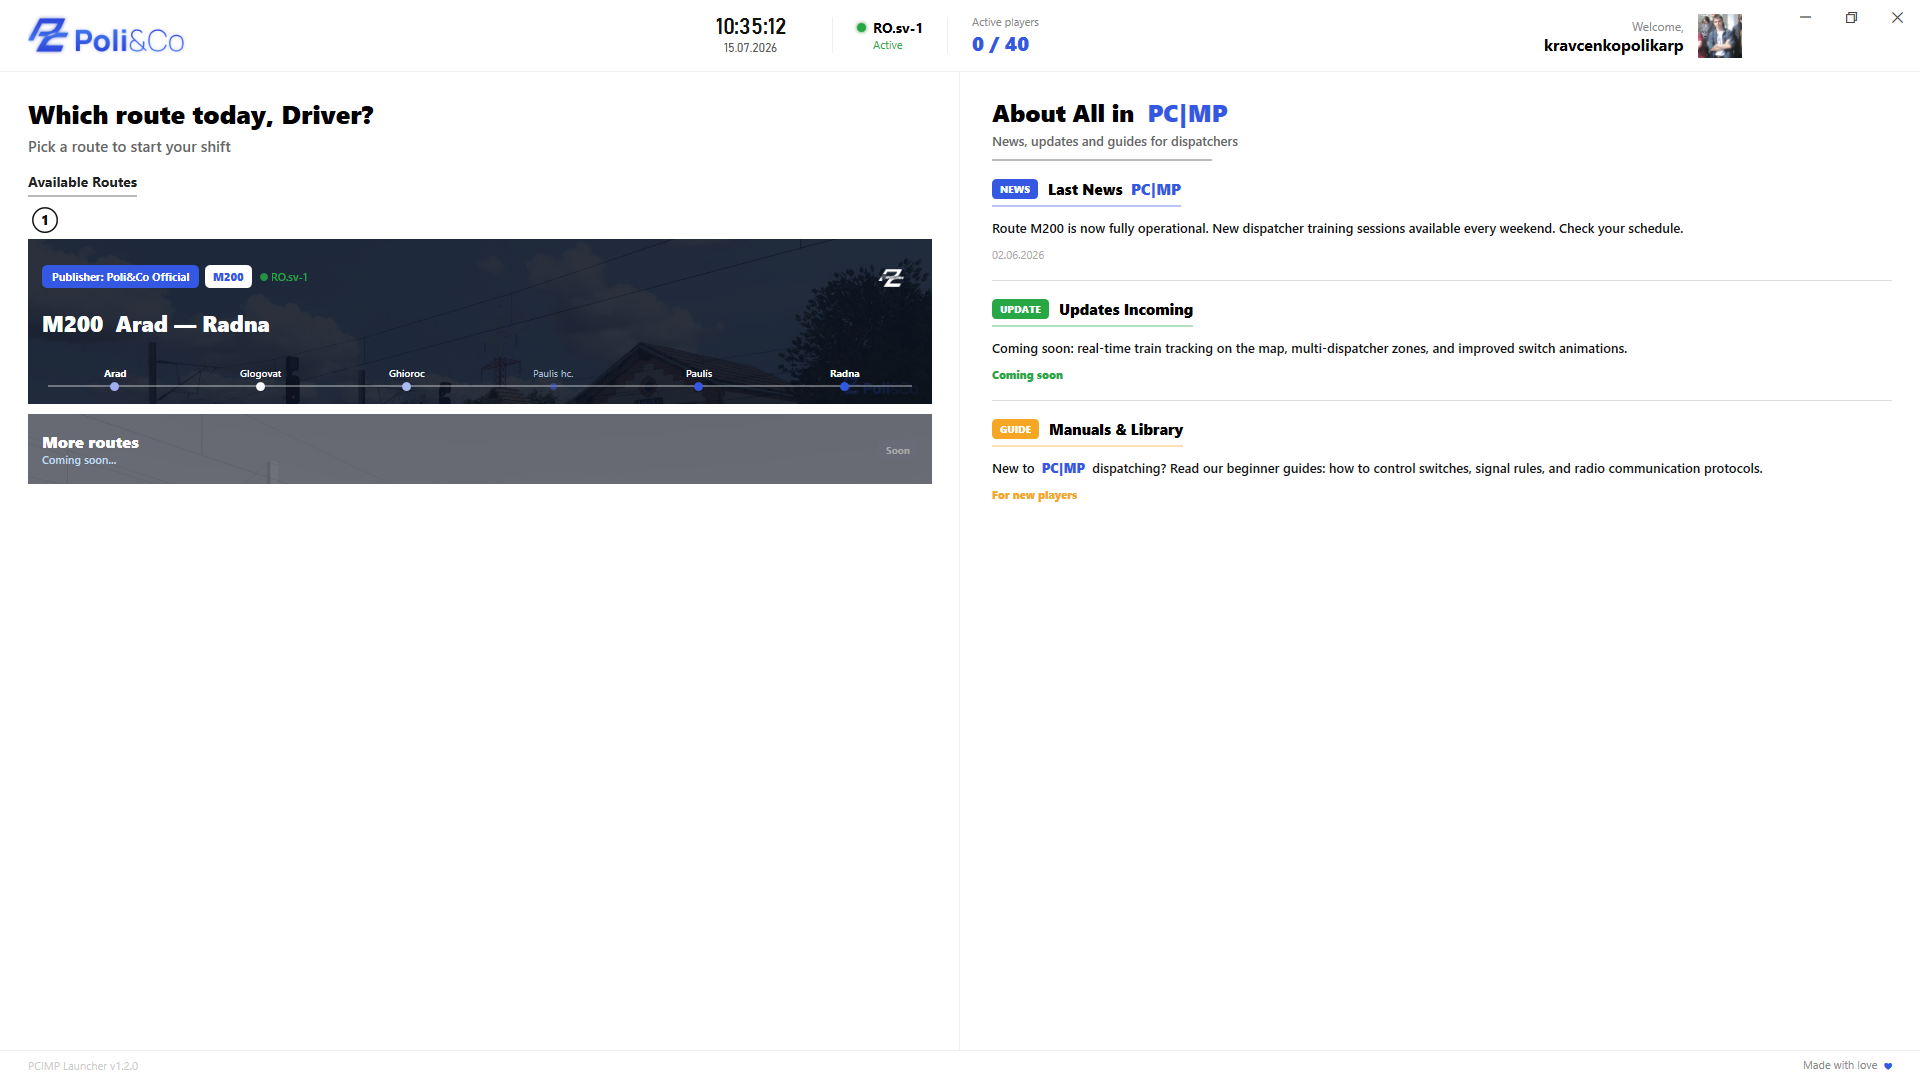
You'll then reach the Dashboard page — a genuinely important screen holding all the key information. Let's walk it top to bottom.
At the top of the sidebar sits the main info bar. On the left are the route cards and route selection. On the right is the news feed — updates, patch notes, and beginner guides.
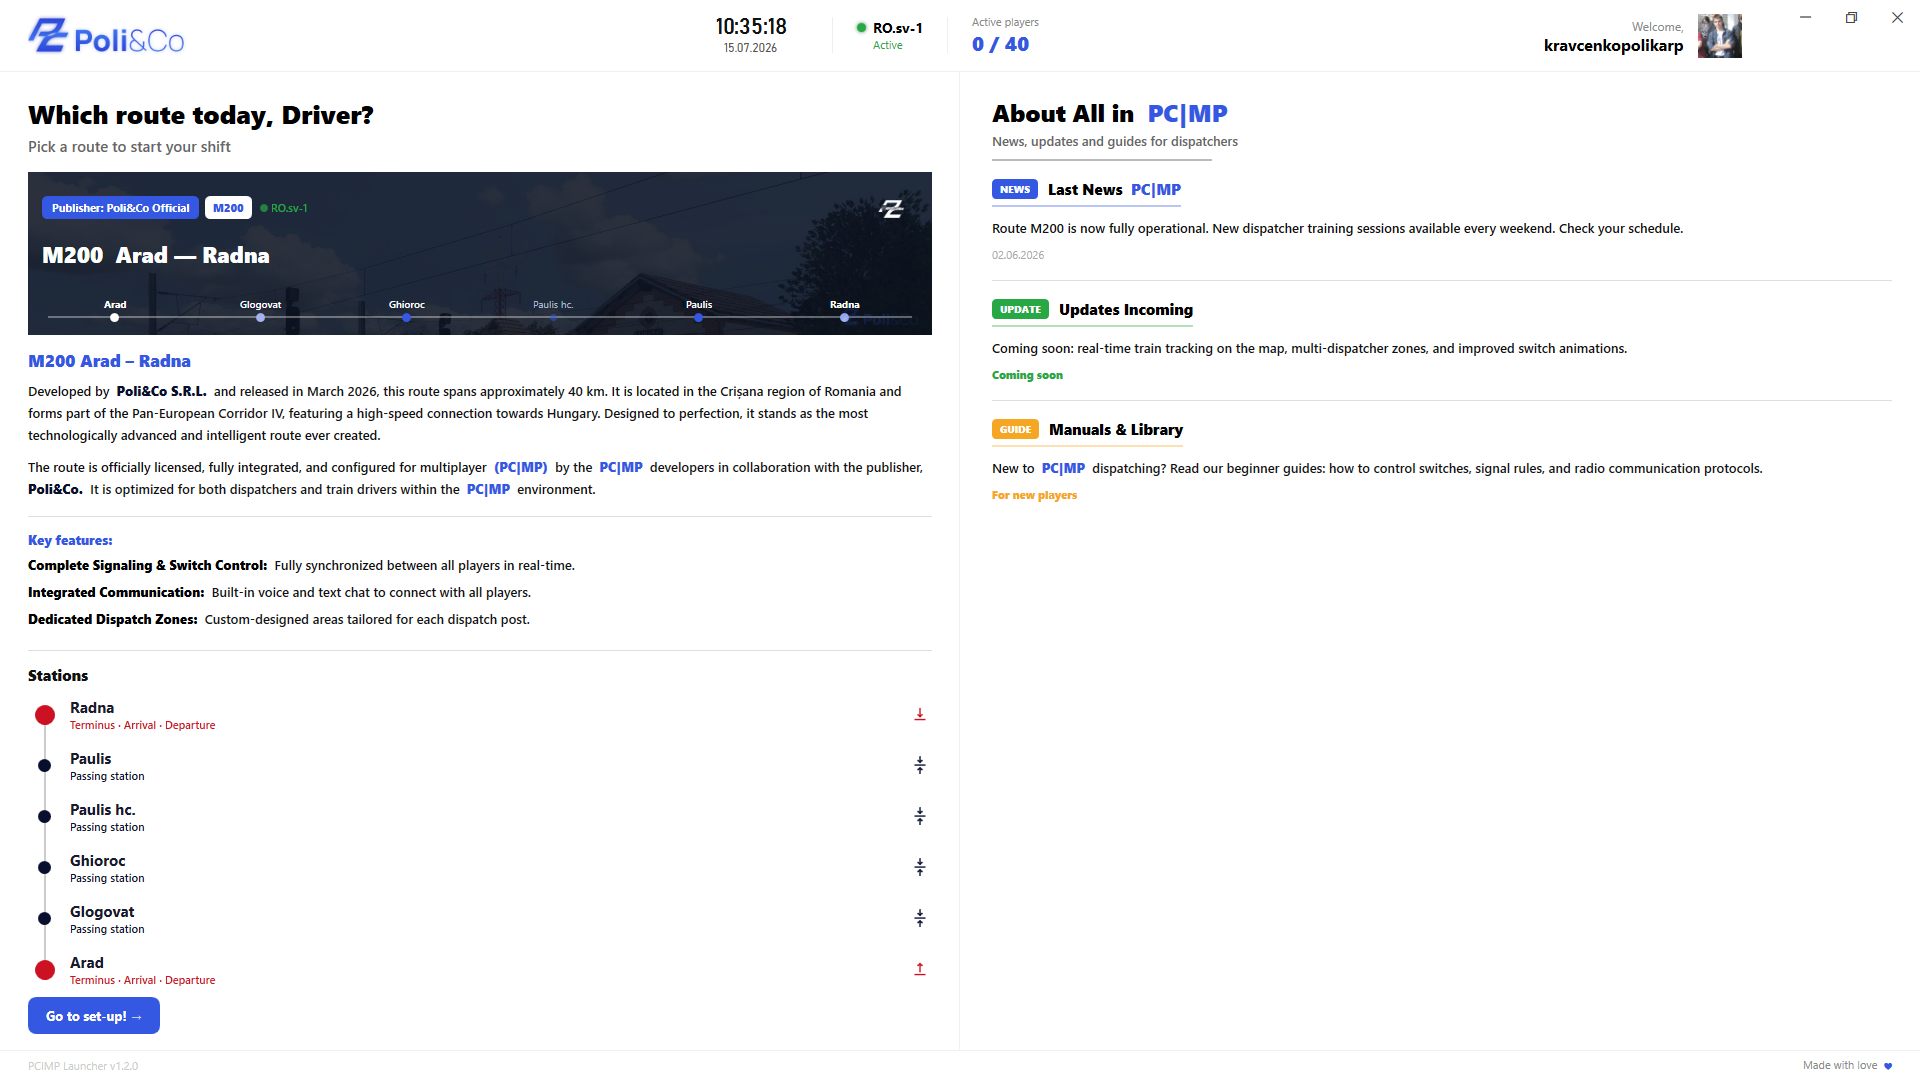
To pick a route, click its card on the left — it'll expand to show the route's description, stats, and stations. At the bottom, there's a Go to Set-Up button. Click it.
Set-up — plan your run
This takes you to the settings page, where you configure everything for your connection. Every field is labeled — set it up to your liking:
- Train number — pick the class and number you'll run under.
- Direction — starting at Radna heading to Arad, or the reverse. Pick whichever you prefer.
- Departure platform — the platform your train is placed on in your scenario.
- Departure time — pick a time that gives you enough room to finish setup, start the locomotive, and get ready to depart.
- Station stops — how long you'll dwell at each platform for boarding. Stopping at every station is mandatory on PC|MP, to avoid creating traffic jams.
Next, move to the Consist tab. Choose the locomotive other players will see you as, and make sure the number of wagons here matches your in-game scenario exactly. Double check everything is correct — this really matters.
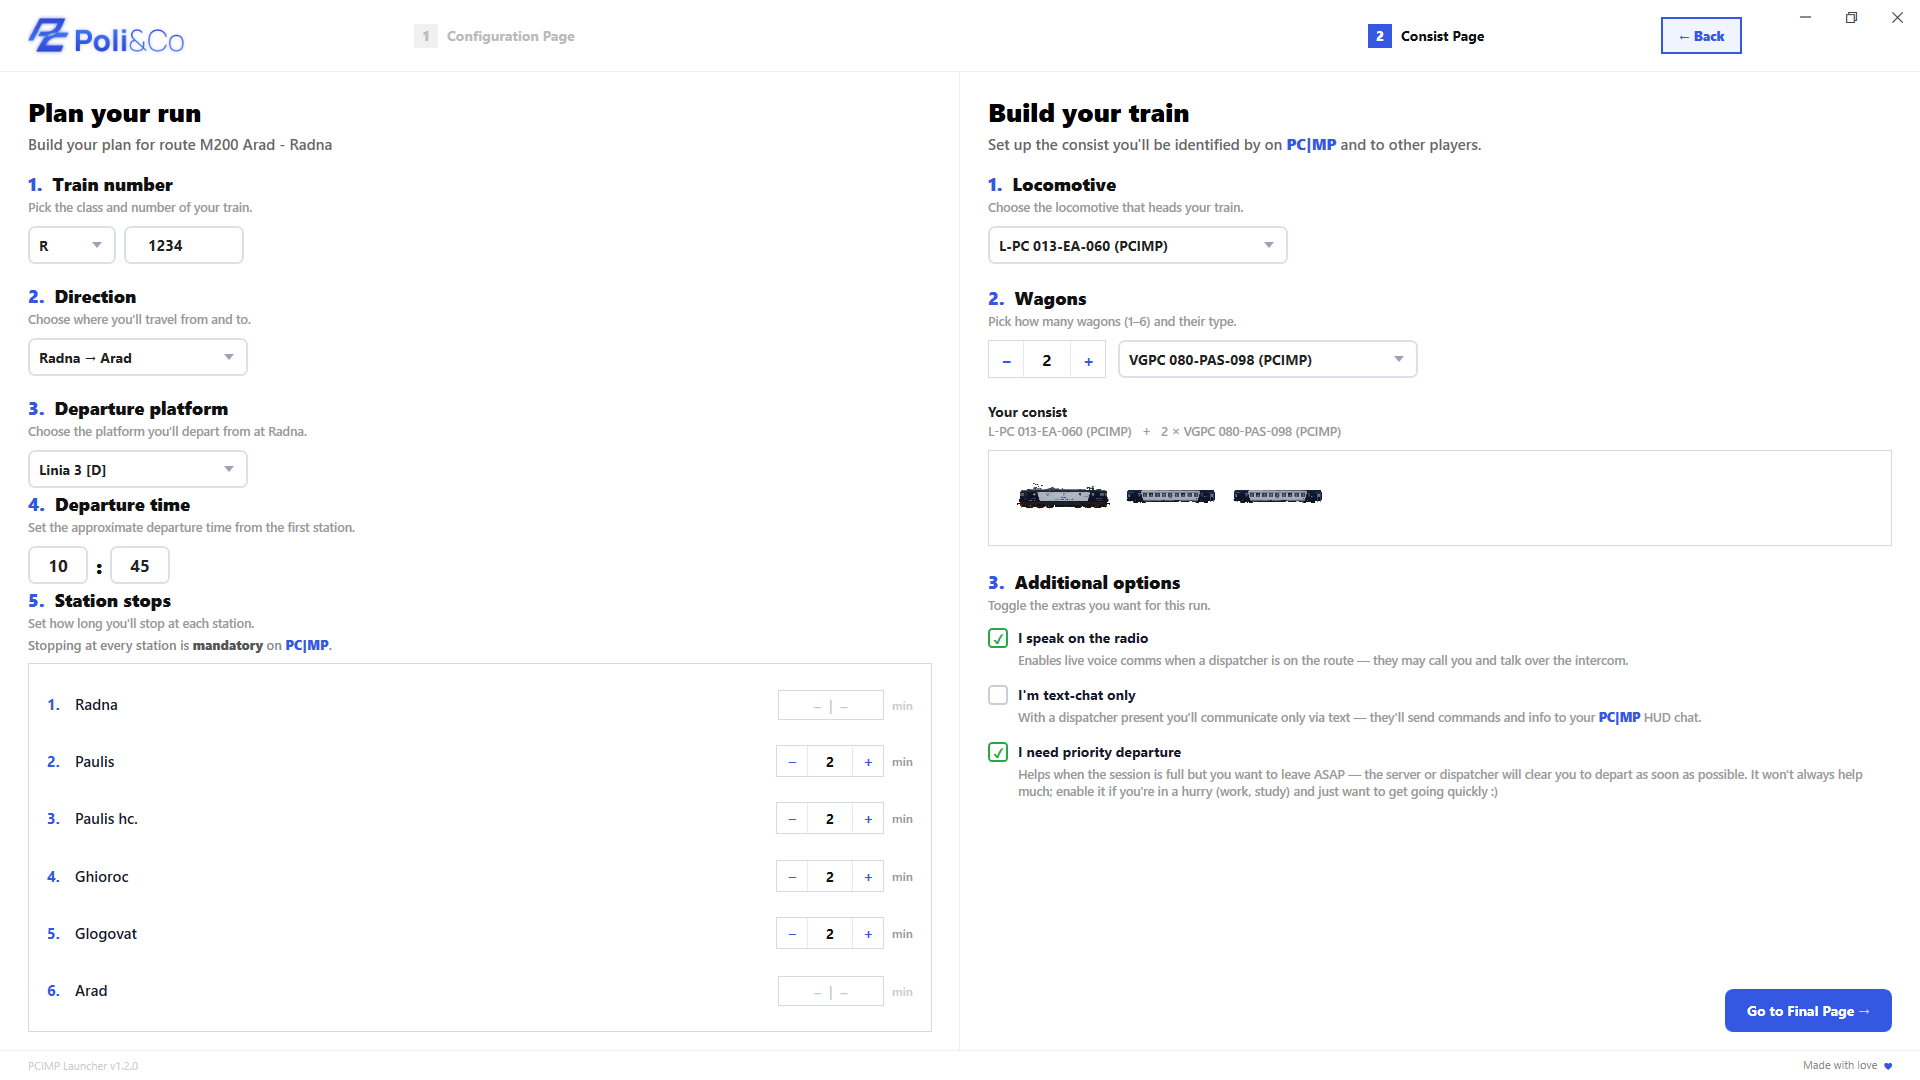
When done, click Go to Final Page.
Final page & connecting
This is the final review page. Check your schedule, stops, consist, and departure time. Scroll down and click Connect to PC|MP! when everything looks right.
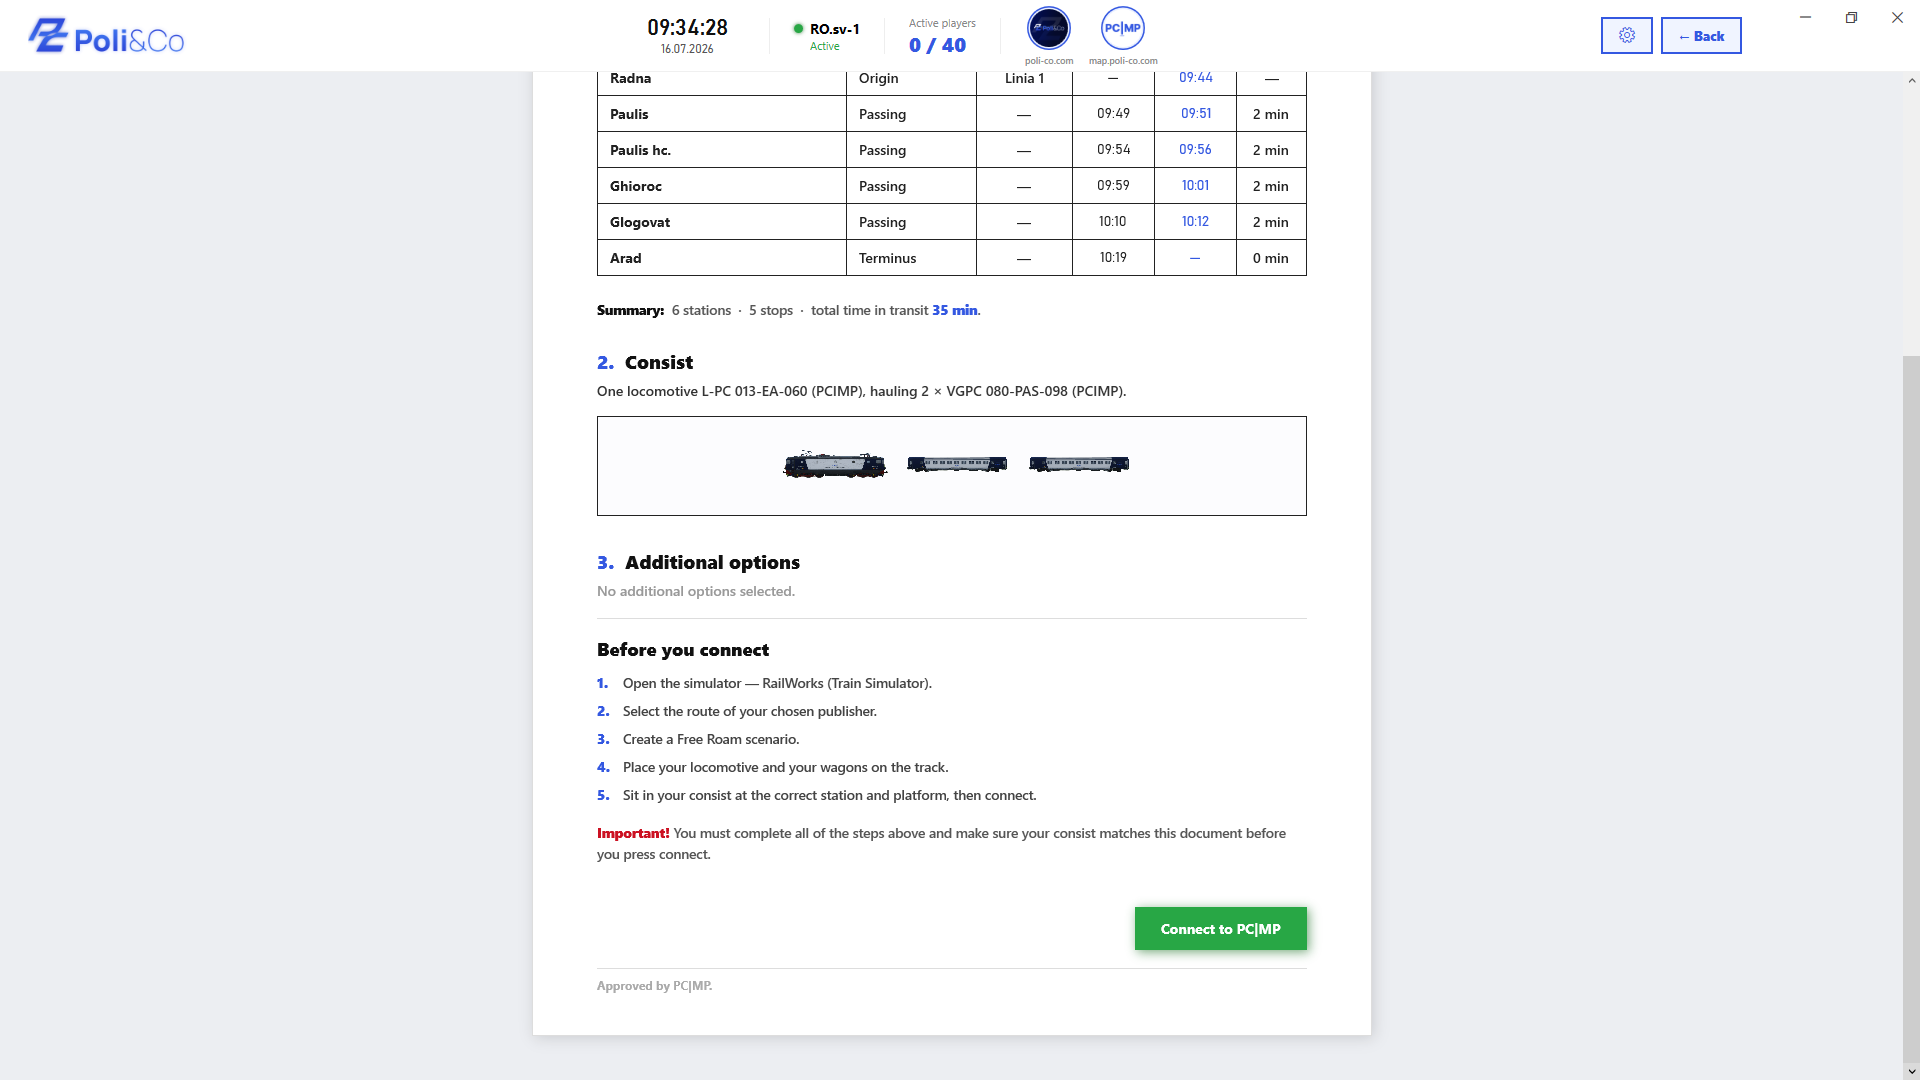
In-game
Switch back to RailWorks. Once connected, the PC|MP HUD loads in too — a clean overlay giving you all your live info. In the sidebar you'll find the time and date, your account details, and on the left, the server you're connected to. Lower on the right is your schedule, plus a section for delays just below it. A bit further down is the signal widget. Bottom left holds the chat widget — where you'll get important info and can talk to other drivers about anything. Voice chat is also available: hold CTRL to use it.
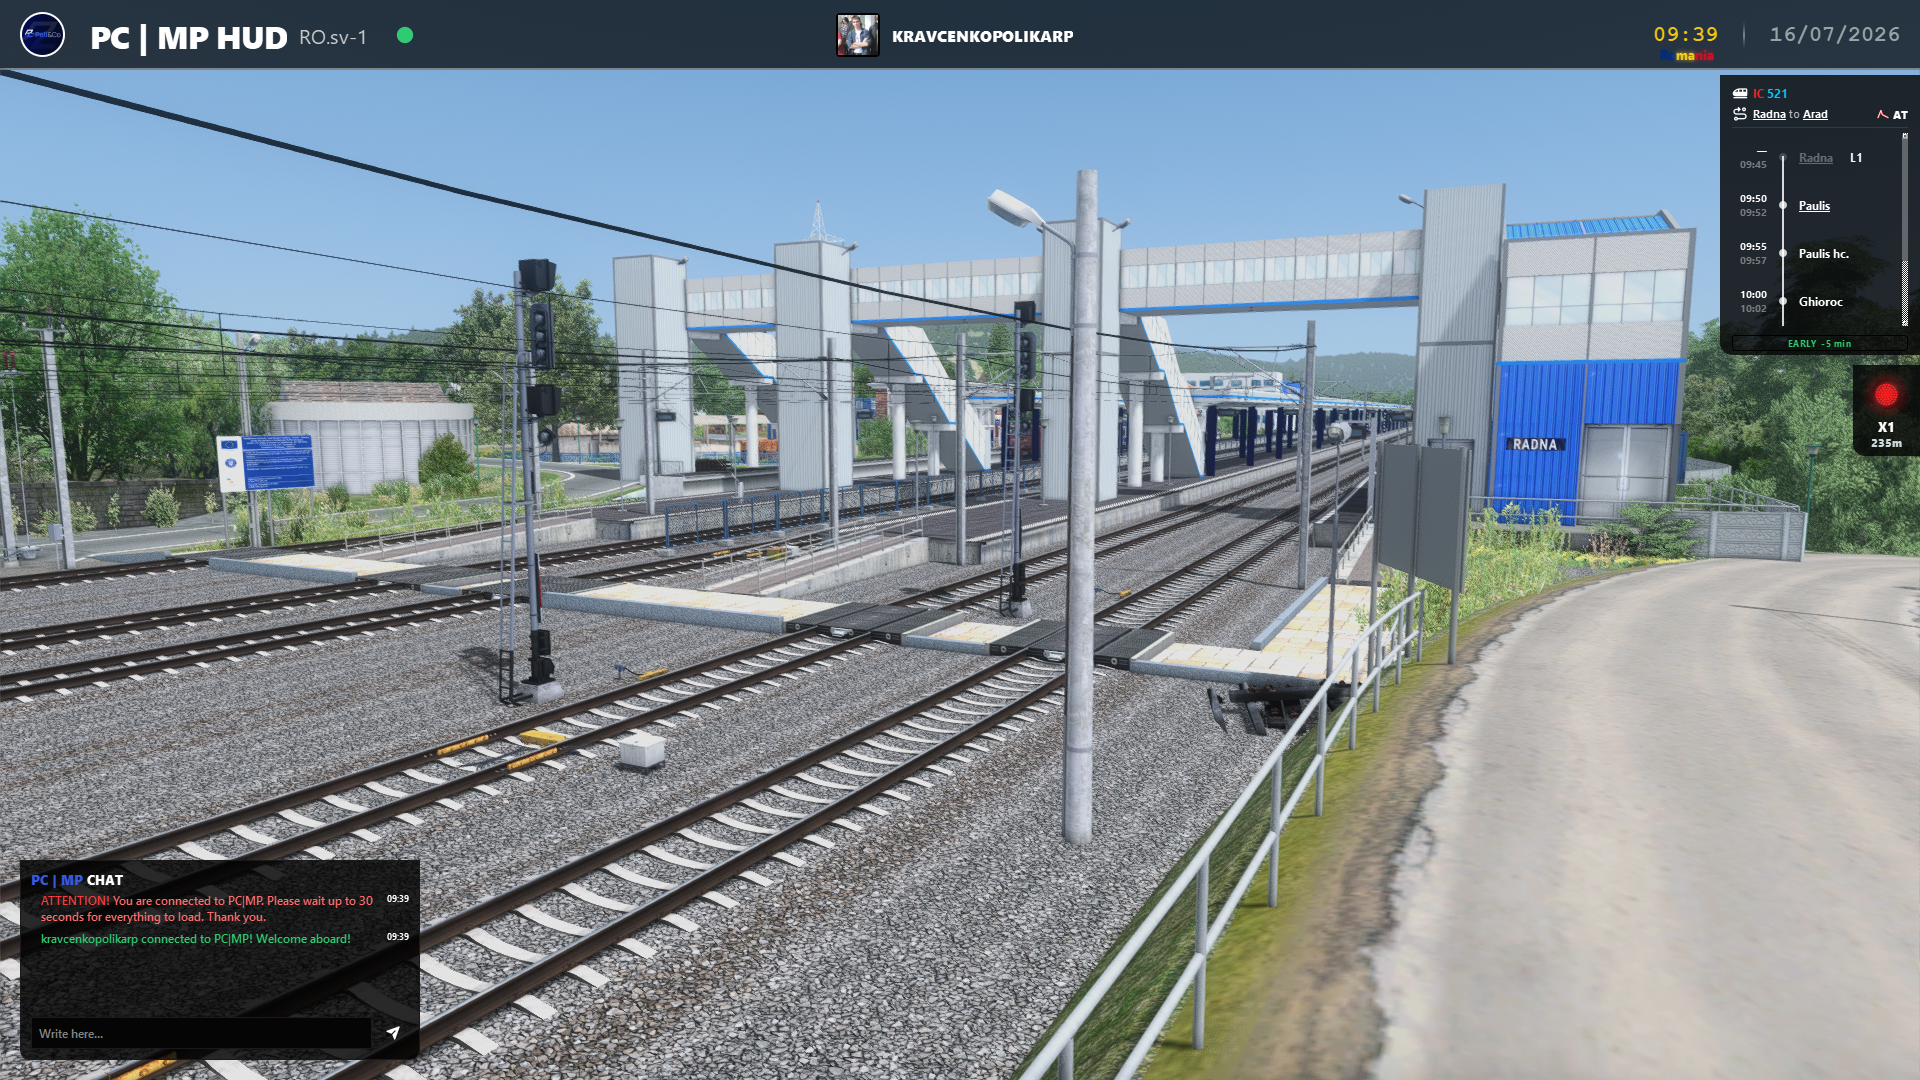
That covers everything you need going in. After connecting, wait for route clearance, follow the signals, stop at every station, and take it from there.
We wish you a great ride on the project. Talk to other drivers, don't ride alone — live it fully. Thank you for supporting PC|MP!